 |
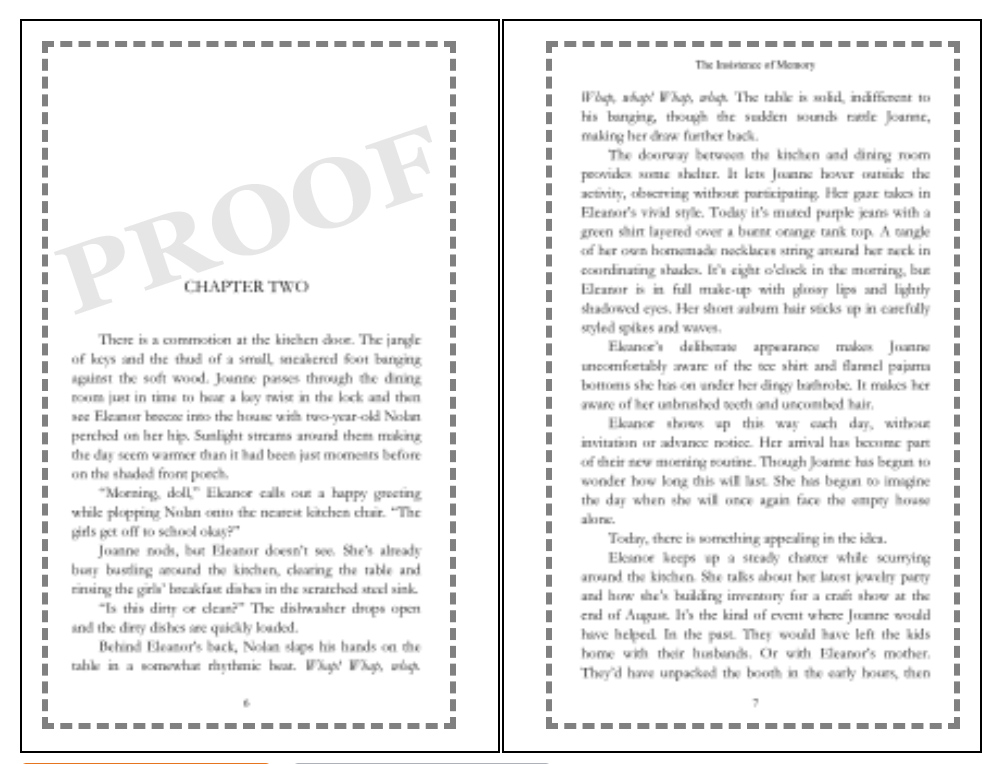
| Digital proof of an interior layout |
As an indie author, I wear many hats. Beyond writing the books, I bring them through the publishing process, handle their release, and market them to readers.
I’m most comfortable (by far!) with writing the books. Preparing them for publishing is getting easier, book by book. Planning the release and marketing the books is my least favorite part of the job, but we’ll talk about that another time.
This post is about the publishing process; a.k.a. how I get my work from manuscripts to finished books. It isn’t a tutorial, but rather a high-level overview for those who are curious about my process.
There are many ways to prepare a book for self-publishing. My way may not be the best way for anyone else. It might not even be the best way for me, but it’s the best I’ve come up with so far. So, here we go…
1. Write the story
The publishing process requires a completed manuscript, so let’s make that step one. I won’t get into how to write a novel though, since that’s an entirely separate topic. For our purposes, the story is finished and reasonably polished before moving on to step two.
2. Find trusted beta readers
No matter how much time I spend polishing a story, it’s important to get feedback from other readers. I look for people who will give me honest feedback, both good and bad. Different people offer different types of feedback—and it is all useful! Typically, I have three to five beta readers for a new book, and I’m incredibly grateful for their time and effort.
3. Edit the manuscript
Professional editing is very valuable. It’s also an expense that I can’t afford with my slim profit margin. That’s a chicken or egg scenario though. Do I wait for my books to take off so I can afford to hire a professional editor? Do I hire a professional editor to improve the chances that my books will take off? So far, I’ve opted to do my own editing. That may change down the line.
Editing the manuscript involves going through the notes and other feedback I get from readers, running the chapters through various grammar checking programs, and reading it from beginning to end out loud. Reading it out loud often helps me catch typos that may have been missed. Once I’m happy with every word, I “lock in” the manuscript. This is where I stop reading and changing the text.
4. Design the cover art
I hired someone to design the cover for my first book (The Insistence of Memory). While I was happy with the result, my meager profits on the book made me reevaluate my expenses. For now, I’m opting to invest in promotions and do my own cover art/design.
The cover art is listed as step four, but, in reality, it’s something I work on while still writing the book. I typically write during the day and sketch cover ideas in my downtime. This art is not the layout of the cover, but whatever image(s) I might use when it’s time to put the cover together.
(Note: I could hire professional services for each of the following steps as well, but again it comes back to saving money, as profits are slim!)
5. Design the interior layout for the paperback
While creating the paperback layout, I try not to read the text but instead see each page as a picture. I want the blocks of text to be visually pleasing and easy to read.
Correct settings for the margin and gutter sizes keeps the text from running into the spine or out of the printable area at the edge of the page, but that can be a tricky calculation until seeing the proof. Headers and page numbering must be set up and adjusted so they appear on the proper pages.
I also like to examine each page for distracting elements, like widows and orphans—single lines of text that are separated from a paragraph over a page break. Where sections and chapters break on the page can also be problematic. Often, adjusting the character spacing on some paragraphs will change the lines just enough to create a cleaner layout, but that can take some finesse.
This is the phase when I create the front matter and back matter as well. (Copyright info, title page, acknowledgments, etc.)
Once the layout is complete, it is exported as a print-ready PDF.
6. Design the cover for the paperback
While I may draw the cover art earlier in the process, I wait until I complete the interior layout to create the cover design. It’s easier that way because I won’t actually know the width of the spine until I know the number of pages in the book. (The cover is laid out on one page showing back cover, spine, front cover from left to right.)
I use the guidelines from the printer to work within the trim line and safe space around the edges of the cover. With print-on-demand books, there may be some slight shifting when the books are printed and trimmed, so it is important to stay within those boundaries.
Once the cover is complete, it is exported as a print-ready PDF.
7. Order and review a physical proof
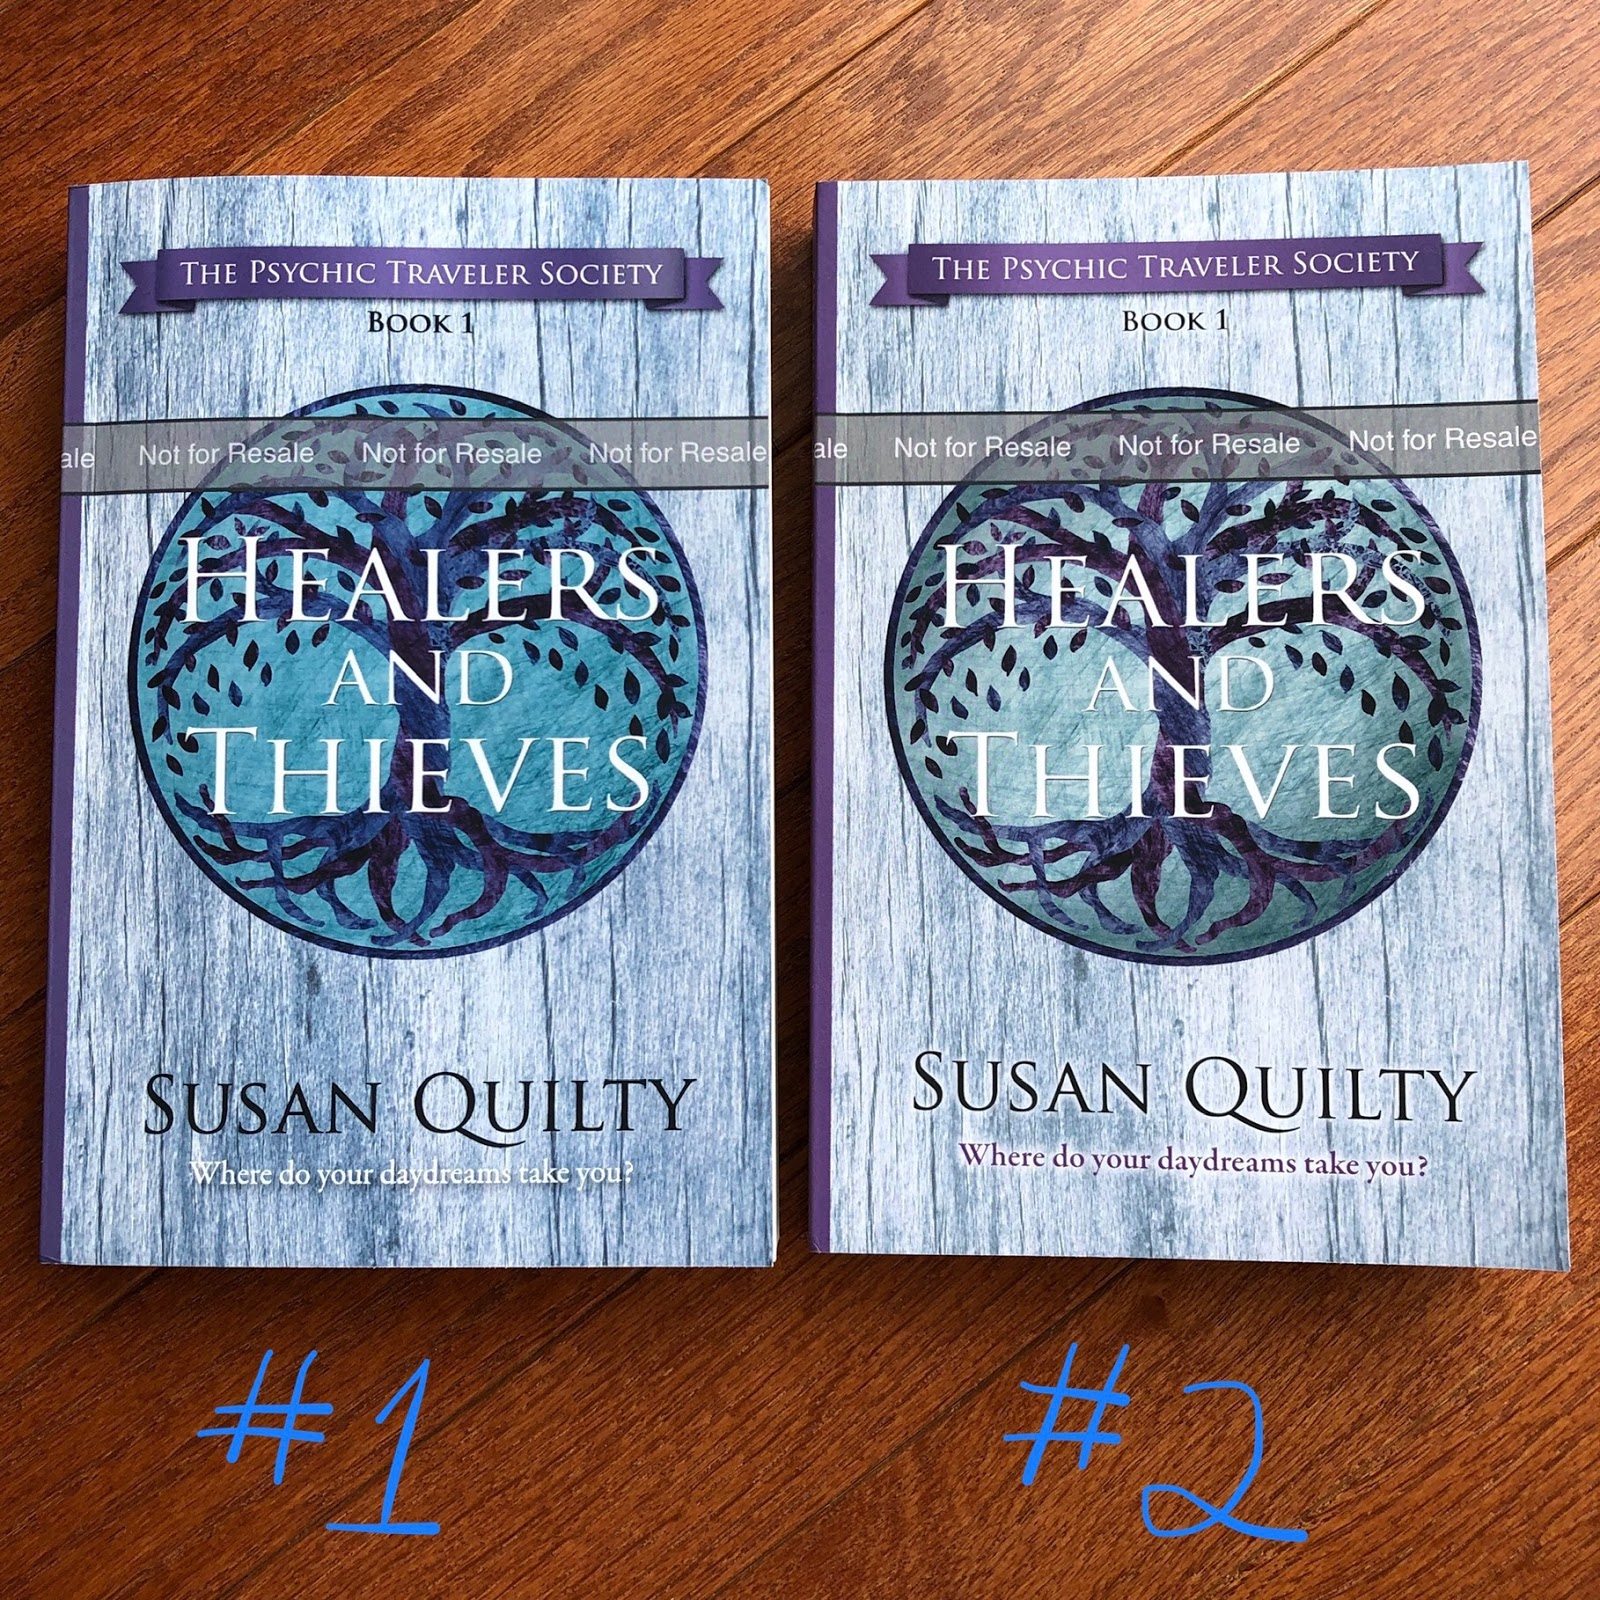 |
| Original and revised proofs |
After uploading the interior layout and cover files, I am able to review a digital proof of the book. This is a pretty good indication of where the content will fall within the trim/gutter, but it’s not the most accurate way to see how the colors of the cover will print or how dark the ink will be on the pages.
That is why it’s important to always order a physical proof!
With my current book (Healers and Thieves), the digital cover was lovely, but the print cover left a lot to be desired. The colors in the art were too saturated and simply didn’t print the way I expected. Since I drew the cover art digitally, I was able to make some relatively easy adjustments, and I was happier with the second physical proof.
8. Design the interior layout for the ebook
While waiting for the physical proof to arrive by mail, I move on to designing the Kindle (ebook) edition.
The ebook layout is a bit easier because it does not have fixed text. An ebook reader can change the font, which will change the layout of the text on the page. However, I do have to add an active table of contents, which can be a bit of a pain to properly format.
Amazon now offers the option to add x-ray information to Kindle books as well. That content (which is linked to specific text throughout the book) is uploaded after the book is published, but I like to have it ready to go before publishing.
9. Design the cover for the ebook
The cover file for the paperback won’t work for the ebook. The Kindle edition has its own size requirements for its cover—which is a skinnier rectangle than the size of my paperbacks. That means creating a second cover using the same elements from the paperback edition.
This is fairly easy, but it can be tedious and tricky to arrange the same design in an attractive way on a cover with a different aspect ratio.
10. Review the ebook
The ebook can be downloaded for review on a Kindle device and in a special app that shows how the book will appear on a phone, tablet, or Kindle. It’s always worth downloading and reviewing, though I’ve found some elements may not be exactly the same when the ebook goes live.
After making it through those steps, I then have paperback and Kindle versions of my book ready to be published. The rest of the process is simply uploading the files and filling out the listing information.
And that’s the very high-level look at how I get from manuscript to finished book.
If you have questions, feel free to ask in the comments. While I don’t have time to create detailed tutorials on these steps, there are many sites online that offer that level of advice. I am happy to answer more simple questions about my experiences with self-publishing.
Someday, I hope to hire professionals to help with this process. For now, I’m a staff of one and I keep learning new techniques to help me offer my stories in the best format I can manage. It’s all part of the indie author experience!